Extracting Images from Visio and Inserting Them in Indesign
Have you ever tried to find cool graphics for conceptual diagrams but find yourself coming up empty handed? Sure, sites like istockphoto.com make icons available inexpensively. But no matter what the cost, if you work for a company you still have to submit an expense request, get it approved by management, and then subtract the cost from a dwindling budget. It's a pain in the neck, and you're usually in a time crunch, right?
Never fear, Visio is here. Visio has tons of great-looking icons. And they're all vectors, so they resize seamlessly. There's only one problem: they're stuck in Visio.
With a little manipulation, however, you can unfree them from Visio and keep them looking sharp for insertion in InDesign. You need a power app (namely, Adobe Illustrator), but that's it.
To extract images from Visio and insert them into InDesign, here's what I do:
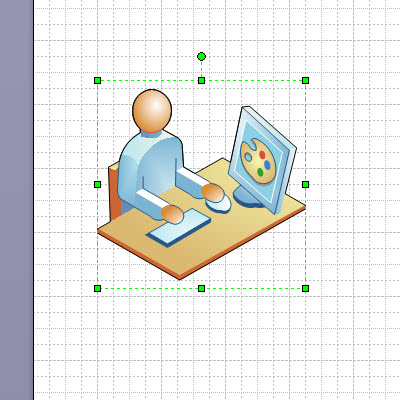
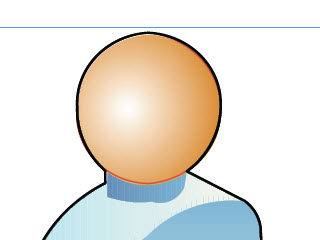
- Open Visio and find the icon you want. Search for "secretary" or "design" and you'll find the standard bald blue man. Select and copy the image.
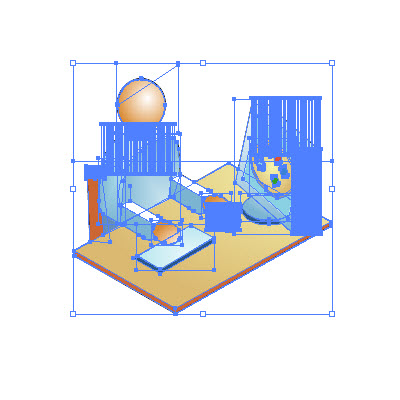
- Open Adobe Illustrator, create a new document, and paste in the Visio icon. You'll notice that each of the sixteen million layers for the image suddenly appears.
- Right-click the icon and choose Ungroup.
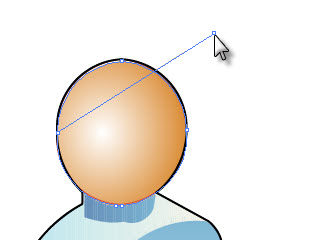
- Now here you can make a few adjustments to the icon, mostly removing things or changing colors. On the Illustrator toolbar, the black arrow allows you to move things, and the white arrow allows you to distort or reshape things. The white arrow is handy, for example, if you want to squish in the line that mysteriously extends from the head of the icon.
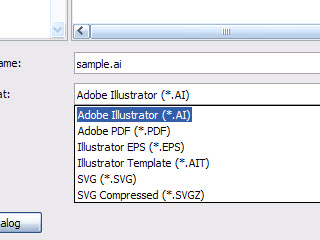
- When you're finished, go to File > Save As and save it as an Adobe Illustrator (.ai) file type.
- In Adobe Indesign, go to File > Place and insert the image. You can still resize it and the vector properties of the image are retained, so you won't see the jagged edges. In other words, Indesign allows you to embed the image as a vector, rather than rasterizing it and having it become pixilated.
If it's absolutely necessary, you can convert it to a GIF, but the edges will look jagged. Open up the file in Photoshop and go to Image > Mode. Make sure RGB color and 8 bit are selected. Now save it as a GIF file or a Photoshop (.psd) file. The edges will be a bit jagged, but as long as you don't resize it, the edges won't be too bad.


